Self-Leveling Concrete: Importance and Techniques
Build a stronger foundation.
As a contractor, you'll know that the best epoxy resin floors start with strong concrete foundations. If the concrete is too worn , or there's unevenness , or moisture , epoxy systems can, and often will, fail. But don't worry! There's plenty of ways to fix up concrete, such as self-leveling concrete. Uneven concrete surfaces, often caused by irregular ground or installation issues, often lead to significant flooring problems . Concrete leveling is an indispensable skill for any flooring business working with concrete.
In this guide, we'll dive deep into the significance of mastering concrete leveling. From why it's necessary , to recommended equipment , to step-by-step techniques for installing self-leveling concrete to ensure your flooring projects stand the test of time.
Why Do I Need Level Concrete?
Concrete leveling is more than just a preparatory step—it's a foundational requirement. The installation of any system, whether it's polished concrete or epoxy, on uneven concrete sets the stage for system failure. It also poses safety hazards and, as Coxwell Law points out, opens you up to unnecessary liabilities!
The need for level concrete should be obvious. And yet, too many contractors neglect to check their concrete foundations before installing epoxy resin. With self-leveling concrete , it doesn't have to be a hassle.
Safety, Efficiency, and Aesthetic Concerns
An uneven floor is an unsafe floor . Foot and vehicle traffic rely on a consistently leveled floor to travel safely! Not only that, but uneven concrete foundations make a job site unsafe for your contractors, too.
Beyond these practical issues, the visual appeal of the finished floor is always going to suffer when the floor is uneven. Clients should come to your business because you deliver safe, and beautiful, floors. Don't let them down!
What Do I Need To Level Concrete?
To effectively level concrete, you're going to need the right tools. Here are the recommended resources for a successful leveling project:
- Angle grinder or large floor grinder . Make sure the tool you buy fits your job site's requirements!
- Self-leveling compound for filling low spots and achieving a uniform surface.
- Underlayment options like Rapid-Set TRU are designed to self-level a concrete floor for an epoxy resin flooring system. Rapid-Set's solution is considered the best overall self-levelling underlayment !
- Overlayment choices such as the NXT LEVEL SP Self Leveling Concrete solution are perfect for polished concrete systems.
- An epoxy coating system , like XPS brand's own ECTR kit , to give your concrete that polished finish.
- Application tools and accessories like squeegees and trowels to facilitate the process. You'll also need a level to identify where your concrete needs to be fixed, and to check your work after the self-leveling concrete cures.
- Safety equipment is always necessary when you're working with potentially hazardous resources and machinery.

How Do I Level Concrete?
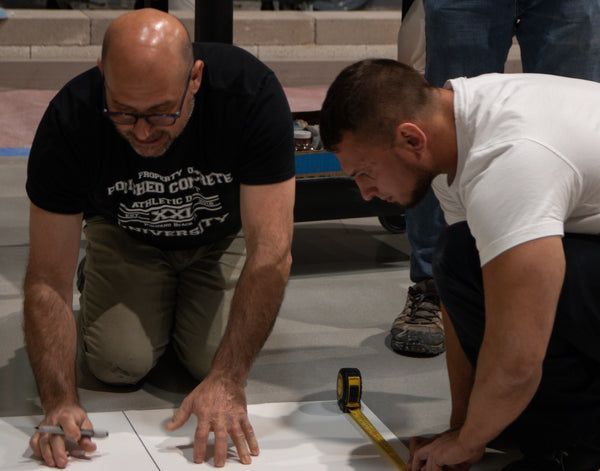
Step One: Identify Low Spots
Survey the concrete floor and identify areas that are lower than the rest. These low spots are what you're going to focus on. Identify them by eye or use a large level for precision. You need to be able to recognize the problem before you try to fix it. It'll help you determine how much grinding you need to do, or how much self-leveling solution to apply.
If your floor is uneven because of a few higher spots rather than low spots , then your solution may not even involve self-leveling concrete. You may need to grind these spots down. For smaller spots, you can use a simple angle grinder , but a larger industrial-grade floor grinder is always a good investment for flooring businesses.
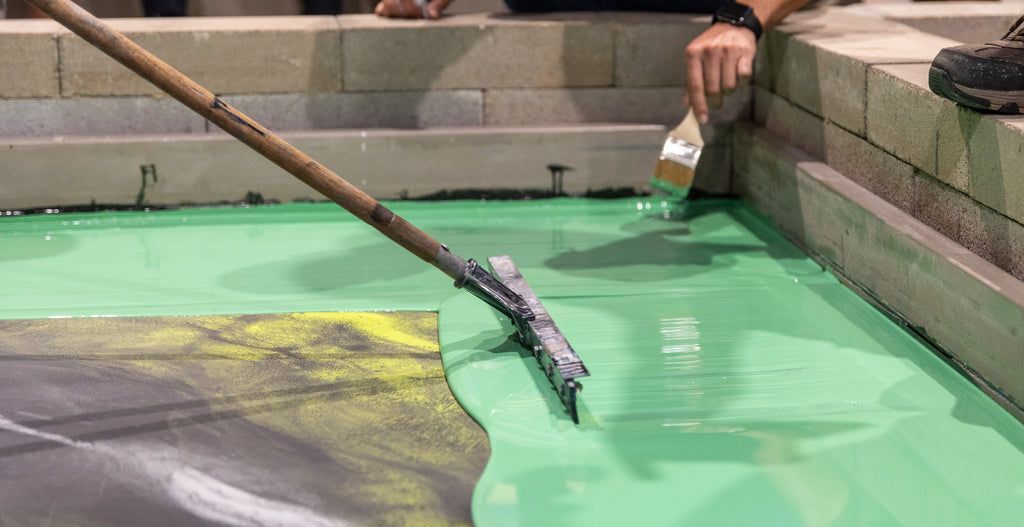
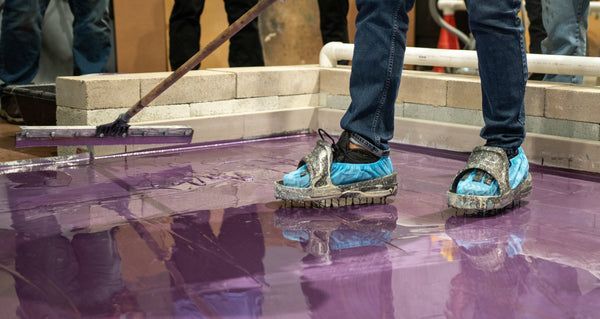
Step Two: Apply Self-Leveling Compound
Once you've identified the low spots, apply a self-leveling compound using a trowel or squeegee. Evenly spread the compound over the low areas, ensuring a smooth application. It'll level itself out (as the name implies), but you still need to be diligent and not apply too much compound, or too little.
Don't rush this step! It'll only add more time later. If you apply too little solution, and only realize after you've checked your work, you'll have to apply more solution and wait until that cures. If you apply too much, you'll have to grind it down.
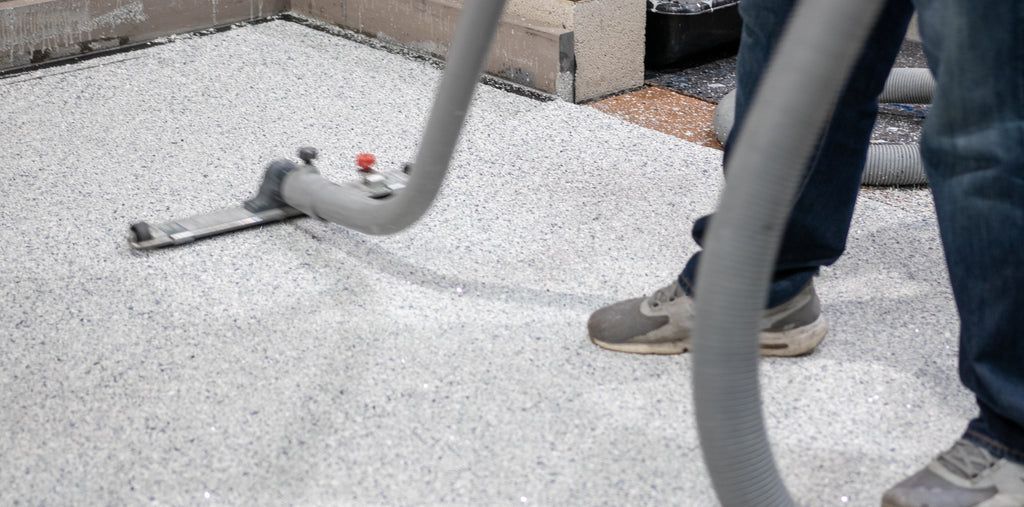
Step Three: Allow the Self-Leveling Concrete Solution to Dry
Allow the self-leveling compound to dry, typically within 24 hours . During this time, the compound will spread and settle, filling in the low spots on the floor.
This is the easiest, but obviously most time-consuming, aspect of leveling concrete. You can't rush this step. Concrete needs to be fully cured and dried before you start applying any epoxy solution on top of it, or attempt to polish it.
Step Four: (OPTIONAL) Grind the Concrete Until Level
If the floor remains uneven after applying the compound, consider using a grinder to remove high spots and achieve a uniform surface.
Use your level! Check your work thoroughly and make sure your floor is consistently level across its entire area. Focus on any irregularities, whether they're high spots or low.
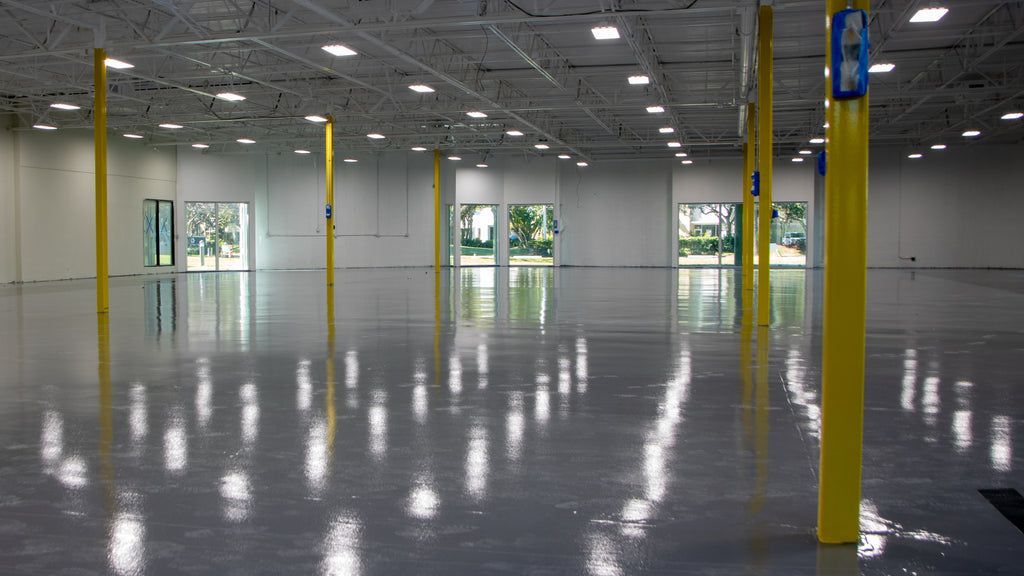
Step Five: Seal or Install
After you get that level concrete surface, you can either seal it with a concrete sealant for protection or put an epoxy flooring system on it! We have guides to read on our blog that will help you navigate any kind of concrete flooring system you'll install.
Conclusion
Level concrete is always necessary for any flooring system. You need strong foundations for your floors. This comprehensive guide will hopefully help you avoid potential flooring failures in the future, and save you both money and labor time in the long run! Whether you're working on polished concrete or epoxy floors, starting on the best foundation often guarantees success.
Follow our blog to learn more about working with epoxy and concrete floors. At Xtreme Polishing Systems , you can find an array of tools, solutions, and resources necessary for effective concrete leveling.