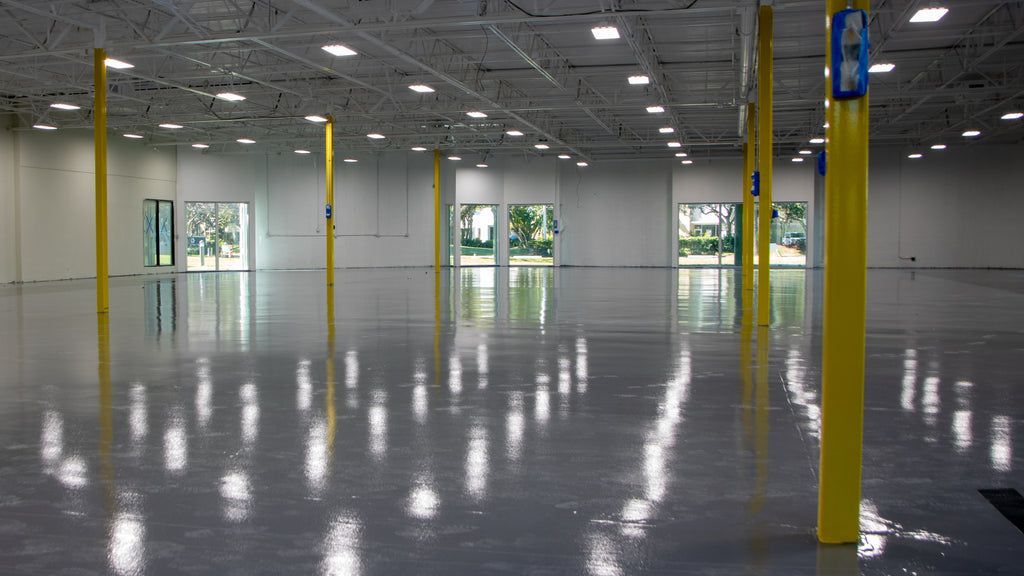
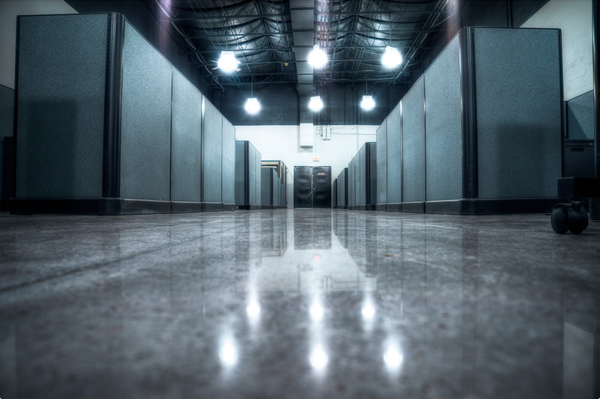
What to Know About Burnished Concrete Floors
Walking on any floor may reveal that some surfaces are very shiny while others are not. So, what is the difference between a shiny floor and a dull one? Specialty maintenance machines are used to burnish (or buff) the shiny floor so that it is super reflective.
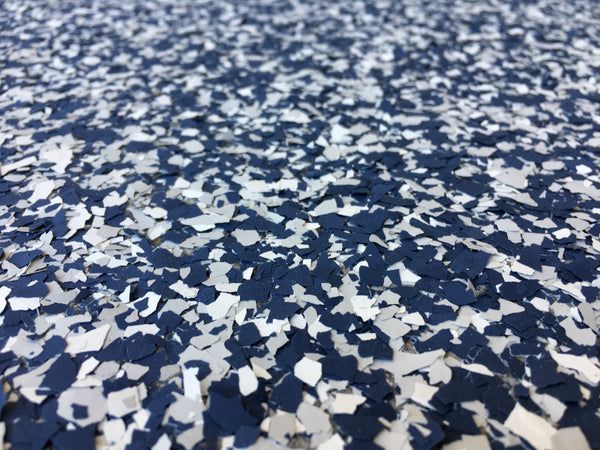
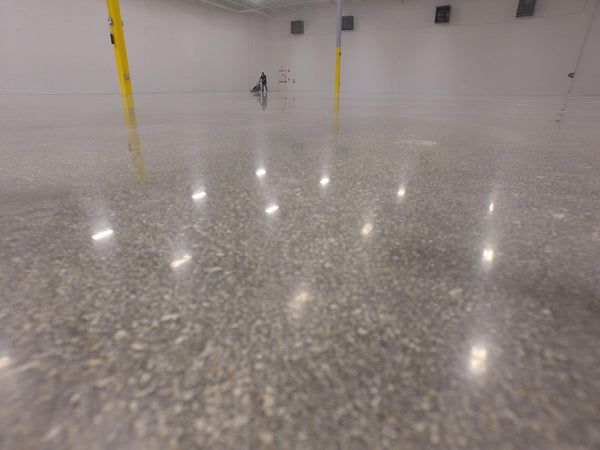
What is Burnished Concrete?
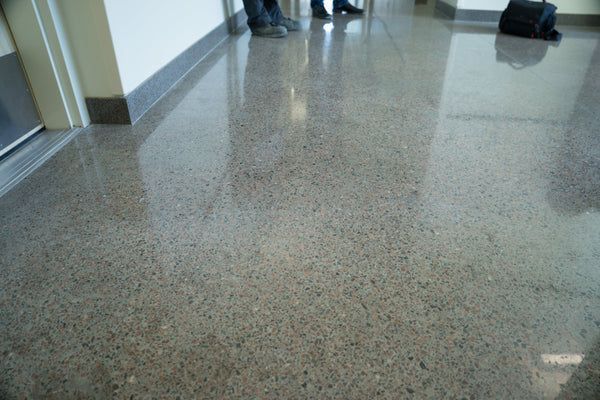
It's not just the shine that makes a burnished concrete floor look wet. A burnisher has also smoothed over scratches and imperfections on the floor with a high-speed pass, ensuring that no dirt will collect on the surface. At the end of the day, that's what the burnisher is designed to achieve. The purpose is to make hard floors exceptionally shiny and to help prevent dirt from sticking to them.
If you want your floors to look new or give them a new lease on life, this is an excellent way to do it. With the right pad and wax, you can burnish most types of floors, especially concrete.
Advantages of Burnished Concrete Floors
Burnishing concrete floors has many benefits. You can create a fresh and clean feel in your home just by burnishing your floors. It is the perfect way to give your concrete surfaces a gorgeous shine with little effort. You can also burnish other types of hard floors such as wood, linoleum, and tile. Burnishing floors is one of the easiest tasks to maintain in your home.
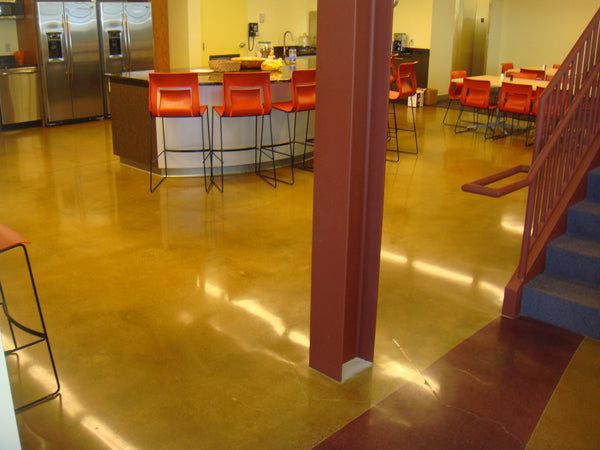
A burnished concrete floor provides a unique look and is a great choice for businesses and homes alike. They are therefore a common choice of flooring for residential and commercial spaces worldwide.
In addition to protecting your concrete floors from damage, burnishing also reduces dust accumulation. Burnished concrete floors are shielded from everyday wear and tear such as heavy foot traffic, pets' nails scratching them, and drinks being spilled. These things can sometimes occur without warning, so knowing this can be helpful. You can prevent dust and dirt buildup by burnishing your floors. The presence of dust and dirt in our common places is one of the leading causes of illness, so keeping everyday spaces clean is crucial.
Concrete floors can also be quickly restored to a lustrous finish after being burnished. Compared to floor cleaning alone, which produces a matte finish that needs regular maintenance, floor burnishing produces a glossy finish that is easy to maintain.
The following tips are helpful when burnishing concrete floors:
- Before applying wax on an automatic floor machine, use high-grit sandpaper (150-220). This is also known as "sanding" your surface. Steel wool will remove dust, dirt, or oil from the final coat of finish on the floor which could prevent the wax from adhering properly.
- Unless you own a burnishing machine, apply paste wax manually with a dust mop instead of towels. You can use this for small spaces, such as closets and bathrooms, where machine cleaning is not easily accessible.
- A soft cotton cloth should also be used. The traditional cotton rag is highly absorbent and can be re-used several times before it needs to be laundered. The wax can become streaky if clean rags are not washed thoroughly each time.
- Using paper towels is not recommended due to the wood fibers they contain. You may find streaks and embedded particles on the floor after using paper towels. Additionally, they will dry out paste wax since they are too absorbent.
We now know the basics of burnishing, so let's talk about how you can ensure you're burnishing floors correctly. These are the best practices we follow when burnishing:
1. Make sure you have the right supplies
First, you will need to acquire the right supplies for your burnishing procedure. The following items are the proper supplies needed to burnish concrete:
- Microfiber Floor Care Kit (Dry/Wet Dust Mopping)
- Floor Cleaning & Degreasing Solutions
- Floor Burnishing Pads (Soft or Coarse)
- Floor Polishing Solutions
- High-Speed Floor Burnisher
- Walk Behind Auto Floor Scrubber (Optional)
- Wet Floor Signs (Optional)
2. Ensure that the right machine is being used
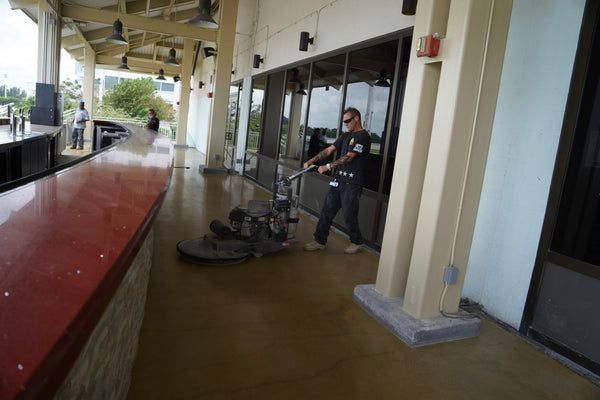
There may seem no need to mention this, but burnishing requires a certain type of machine. Despite their similarities, burnishers operate differently from buffers, so you can't just put a burnishing pad on one and call it good.
It is important to keep in mind that burnishers operate at high speeds, between 1,500 and 2,500 revolutions per minute. In order to achieve the famed "wet look," burnishers generate more friction with the floor surface by spinning faster.
3. Preparing the burnishing area
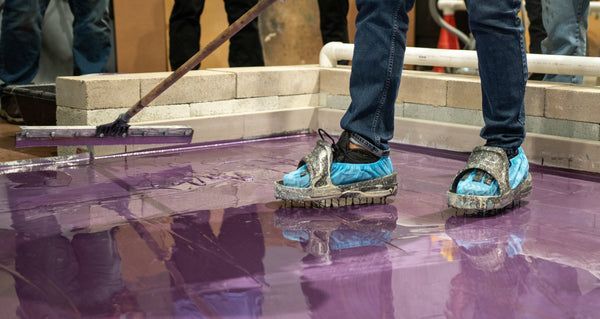
To burnish a floor, you first need to close all possible entrances to the area you intend to burnish. The area can either be roped off or cordoned off with a wet floor and caution signs. It will be extremely important for you to let the public know that foot traffic cannot enter the work site. Organize your workspace by moving all furniture, tables, racks, and displays that might be a hindrance.
It is always a good idea to dust and wet mop a floor first before using a burnisher, at the very least. It is also often a good idea to buff the floor before using the burnisher to remove deep scratches, scuffs, and stains. Considering how fast the burnisher spins, you may be tempted to let it do some of the work. However, despite its high-speed nature, the burnisher does not apply high pressure. On the top layer of the floor finish, most of the burnisher's work occurs lightly.
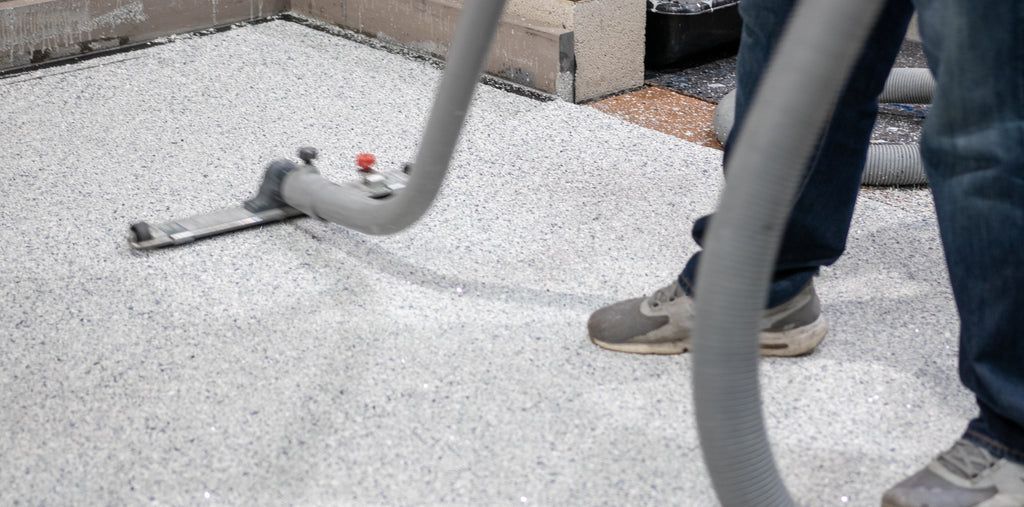
Make sure you sweep the floor thoroughly before you do anything else to ensure that all dirt and debris are cleared from your floors so they can shine as much as possible. For those stubborn areas where dust has settled in between cracks and crevices, vacuum them using a HEPA dust collection system.
The floor must be thoroughly mopped with a dust mop and wet mop procedures to ensure that dirt and debris are removed completely. As a result, the floor will be clean and shine to its highest potential. You can achieve the highest level of shine by starting with a perfectly clean floor.
4. Burnish your floors with the right pad
Burnishers most often work on the top layer, but not all of their work occurs there. It depends on the pad that you use whether you can burnish a little deeper. It is generally recommended to use soft pads with burnishers to achieve true high-gloss shine without greatly altering the floor's finish. There are, however, coarser pads designed for high-speed machines. Using a coarser pad will allow your burnisher to double up as a buffing tool. Be careful, though. It is easy to strip layers of finish with a burnisher because of its speed.
5. Setting up the burnisher machine
Burnishing pads should be selected according to the floor finish and the machine you use. Scuff marks can be removed more effectively with specific pads, but the finish can also be worn down faster than others. In the absence of a perfect match of pads to finish, a certain amount of trial and error is to be expected. Attach the pad to the high-speed driver by leaning the machine back on its handle. Centering devices are typically used to hold the pad in place and screw them into drivers. Mount this piece properly and tighten it to the driver.
6. Preparing your solution
Using a mop or a spray bottle loaded with the floor-restoring solution, you can apply the solution to the floor. We recommend using Xtreme Polishing Systems' floor waxing and sealing products. Using the spray bottle, you can coat the floor while you burnish. The pad is constantly lubricated as you work, eliminating any stops. Both of these methods can also be combined to simplify the process. It's important to follow the instructions for the burnisher you choose, as some burnishers will only work well with the mop-down method that lets the solution dry first.
7. The process of burnishing the floor
Ensure that the burnisher is in position, along with the pad. When using the burnisher, it should be leaned back so the pad doesn't touch the ground. Upon starting the machine, lower the head/pad assembly onto the floor slowly. Working it in with a burnishing solution/cream of choice will help you achieve the best results. Initially, focus on small areas and then expand as you become more comfortable.
As you move forward and backward, the burnisher will glide effortlessly. It just needs to be guided in its motion. To remove deep scuffs, some burnishers can heel the surface by digging into it. Other models will not allow you to manipulate them, and will only allow you to float them over the floor as they polish it. These safety features are often incorporated into the machines by the manufacturers so that the motors can last longer.
During burnishing, it is important to use a pattern that allows some overlap between passes, in order to achieve the best shine since no areas will be missed. Burnish the surface until it has a highly reflective shine. Keep your burnishing pads clean by changing them often so they don't accumulate debris. A fresh pad should give you the same results as an old one, so either flip it over or get a new one if you're not getting those results.
8. Let the machine guide you
With a burnisher, you move forward and backward rather than side to side, like you would with a buffer. As a general rule of thumb, burnishers are also easier to use than buffers. By rotating the wheels, a burnisher controls the height and angle of its pad, as well as the direction it moves forward and backward. Direct the burnisher straight ahead, and on the next pass, slightly overlap that path.
9. Taking care of the cleanup
Contrary to buffing, burnishing is generally a dry process. The burnishing process may generate some dust. In order to avoid dust accumulation during burnishing, you should always have a dust mop ready. There are also dust-control burnishers available that can help mitigate these effects.
After the area has been burnished, dust mop and wet mop it, or scrub it with an auto scrubber to remove any dust created by the high-speed polishing process. The dust left over after burnishing can be greatly reduced by using a 1500 RPM dust control burnisher, as it recovers the dust while polishing. Cleaning up is nearly eliminated by this method. The caution and wet floor signs that you placed out to cordon off the area should be removed.
Objects that were originally moved should be returned to their original positions. Clean the pads that were used by rinsing them thoroughly. After rinsing, soaking them for some time in a bath of water can renew their polishing ability. When a pad sits in water for a while, much of the dirt it accumulated can slowly work itself free, making the pad reusable for next time.
Conclusion
The simple act of burnishing your floors can make your house feel like a home. Although it takes a little extra time and effort, it will pay off in the long run. You will have an easy-to-maintain clean and shiny surface. When it comes to cleaning floors, burnishers are an extremely effective tool.
Floors can be shined to any desired level using the appropriate supplies. The effort you put into cleaning your floor may not always seem worth it, but people will appreciate your efforts when they compliment the floor. As long as you follow the steps correctly, the process is fairly simple, so have fun burnishing! You can make the most of burnished concrete floors by following these best practices.